Namecheap.com
Ming and parsley pesto in freezer container
Mint & Parsley Pesto

Did you know that pesto isn’t always made from basil? Many fresh green herbs can be turned into a delicious addition to your meals. Come see what I made with what I had in the garden.

Find me on Bloglovin’

Hi, Again, Dear Readers:

My apologies, I’ve been away. After the last post from Beverly, I’ve been busy with a new client who gives me a chunk of work every week. I’ve been concentrating so much there that I haven’t had much time to do everything else. The only sewing I’ve been able to do is minor repair work.

Before I forget: I updated last month’s Spicy Calabrian Shrimp. I found the missing pictures and they’re now in the blog post.

Current Events

Speaking of work: don’t get me started on Depp V. Heard. I’ve been paid to write two blog posts on the subject, and like a lot of people, I’m anxiously awaiting the verdict. That case has captured my attention but not for the reasons you might think. It’s extremely interesting, especially with my legal background. Livestreamed online, it’s real life, not a movie or TV show. I’m not a big “Depp fan,” but the case is intriguing. Then again, I do a lot of research and writing for the legal industry, so you understand why I’m so interested.

You probably don’t want to know about the insanely X-rated language, or the distinguished attorneys on both sides reading it all aloud in front of the judge and jury. Scriptwriters couldn’t write that kind of thing on purpose, but will probably try now. The court reporter–who has to record every filthy, nasty word of it–got a standing ovation from Depp, his legal team, and the people in the public gallery. I’ll say this for him–Depp is certainly a creative writer when he’s fired up.

Enough of that.

Downton Abbey

As for our wonderful friend Beverly, she is planning to write another guest post, this time on the Unofficial Downton Abbey Cookbook, which, she says has food you can actually cook. The Official Downton Abbey Cookbook series is more pictures and stories from the show, rather than recipes you’d want to make. Like me, Beverly reads cookbooks the way others read novels. So that’s coming up soon.

BF and I went to see a matinee of Downton Abbey: A New Era last week, and let me tell you—if you loved the series, you’ll love this movie. It ties a bow around the entire Crawley family saga, I think. Not sure if there will be any more from the DA saga or if this is the conclusion, I haven’t heard. I won’t give away any secrets that weren’t in the trailers, but there are a couple of things I didn’t see coming. Maybe I wasn’t paying attention. If you go—BRING TISSUES. Trust me.

On the way home, BF reminded me: “Never forget how much I love you.” In other words, if he didn’t, there would be no way he’d be going to see that film. Ever. Next up we’re planning to see Top Gun: Maverick. I hear it’s as good as the original, and I’ll need to re-watch the original because I haven’t seen it since 1986. Fortunately, BF has the DVD.

But today I’ve got a post on a discovery that you might be interested in trying even if you don’t like basil.

Berry Picking Season

The wild blackberries that grow here are ripening a few at a time, so I’ve started picking them around the property.

Berries growing on vines

Look!! Berries!!

I showed these pictures to Neighbor E this past weekend, too.

More berries on vines

These are ripening bit by bit

These, of course, are not yet ripe, but they ripen individually. There are occasions when I walk outside with this beast.

Buddy The Dog outside in grass

He’s always around, looking for food. He’s taller than the pit bull now.

And pick a handful or two for us. (BF doesn’t much care unless I bake the berries into something.) Broccoli Stirfry and I eat berries together, and he loves them. The pit bull doesn’t seem to get as excited about them anymore.

But when I go out to pick for the freezer, I’m wearing a pair of these gloves, a pair of knee-high Muck Boots, jeans, sunglasses, and a hat. I can reach more ripe berries that way unless I’ve been out with the silly dog and we’ve had the “low-hanging fruit.”

Even more berries growing on vines

I pick as many as I can reasonably reach.

But I still get scratches and mosquito bites.

So far, I’ve nearly filled a gallon freezer bag with this year’s pickings, and BF is asking me to make something for him with them. I moved last year’s crop into the kitchen freezer so I can do just that for him. I just received the new edition of The Pioneer Woman magazine today. There’s a blackberry cheesecake galette recipe that I’ll be trying soon. Unfortunately, it’s not on the website. (Blog post?) I’ll also be making my favorite keto blackberry cobbler again, too.

Making Pesto Out Of Anything

Last week on Facebook, Giada de Laurentiis’ Giadzy online magazine re-published an article from 2020 called How To Make Pesto Out Of Anything.

Anything? As in chocolate and raspberry anything? No, not that anything, but fresh herbs and greens that you may have on hand, like I do.

The point of the article is that, although it’s traditional in Genoa, pesto isn’t necessarily made from basil. Pesto is not an exact science, nor is it rocket science. “The true beauty of pesto,” the article states, “is that it’s greater than the sum of all of its parts.” In other words, the combination of all the ingredients is what makes it so delicious, not just one specific ingredient.

It’s a bit like a puzzle really—one piece is just that, but when you put together 10 pieces of the puzzle, then 100 pieces, then more, you get the entire picture.

Well, that’s how I think of it anyway. I hope that makes sense.

No Basil, But Lots Of Mint

So I recently planted the two little basil clippings that I rescued from last year’s crop. I kept them in the kitchen window for months, and I recently planted them outside along with a packet of basil seeds in the same pot. Those seeds have started to grow, and the rescued clippings are doing just fine.

Basil growing in pot

More pesto this year!

Additionally, I planted two packets of lettuce seeds in a different pot, and they’re coming along just nicely.

Lettuce in pot

The return of salad days

Not ready to cut yet, but I’m looking forward to having some with a tomato or two.

But the mint plant that I’ve had for quite some time became overgrown.

Giant mint plant in white bucket

That’s mint. Mojito, anyone?

I had plenty, but just didn’t know what to do with it. The stuff just grows, and I don’t want to make that many Corsican Omelets with goat cheese and Mojito cocktails. Keep it watered and you’ll have more than you know what to do with. Every time I went outside, I told myself to cut it and do something with it, but I didn’t know what. Thanks to Giada, I now have the answer.

Her standard pesto recipe that I’ve used for many years is

  • 2 cups of fresh basil leaves, tightly packed
  • 1 clove of garlic
  • ¼ cup of toasted pine nuts
  • 1½  teaspoons kosher salt
  • ½ teaspoon freshly grated black pepper
  • About 2/3 of a cup of extra virgin olive oil

Once you blend that all up, mix in a half-cup of grated parmesan cheese. Use it, refrigerate it for a week or so, or do what I do and freeze it as long as you want. Right now I think I have frozen pesto going back to 2018 or 2019. It’s still fantastic.

Using that as a guide, and then taking the information from the article, I went on to make pesto in a new form.

How It’s Made

So, it started out with walking outside and clipping what seems to be a mountain of mint growing. You always keep mint in a container. Otherwise, you’ll find out what happens, as Banana Rat did many years ago when he planted it in his backyard.

Mint takes over wherever you plant it. A few years ago, he posted it on Facebook one day with a question: “Can you say endless mojitos?” He literally had mint growing in about half of the yard. I don’t know if he still has mint growing everywhere, but it is pretty difficult to tame and remove. So, if you like mint, keep it in a container, or you better really, really love mint with all your heart.

Next, I gathered up all the ingredients I had.

Setup for pesto ingredients

The Setup.

I didn’t have any Parmesan cheese because I hadn’t been to the grocery yet. I also took Giada’s suggestion to use walnuts instead of pine nuts.

So I clipped and I clipped and I clipped, filling up the salad spinner inner basket.

Mint in basket

Yes, that’s all fresh mint.

Buddy doesn’t care for the mint

Buddy and mint

He tried it, though.

Then I washed the leaves well, spun them, and began picking the leaves from the stems.

Check out the water that comes out after you spin it. You don’t want this in your pesto.

Water in bowl

That’s a lot, but you know the leaves are clean.

All told, I had about three cups of mint once I finished de-stemming. Perfect.

Making Pesto

Then everything went into the blender just as you would with basil pesto.

Mint In Blender

Don’t forget the salt and pepper

I like walnuts, so I figured I’d try them this time. Yes, pine nuts are delicious, but they are also pricey. Just for once, I figured walnuts would be OK. And you know what? They worked quite well. Plus, I could snack on them and not feel guilty. Toast them first, don’t burn them:

Toasting walnuts in the pan

Watch them, they can burn, but they do take longer than pine nuts.

And put them in a cold bowl to stop the cooking and cool them off.

Walnuts cooled in bowl

Ready to go

Next, add them to the blender:

ADding walnuts into blender

Just like the pine nuts

And blend!

Blending mint into pesto

Just like that.

I tasted the finished product, and it was quite minty. The garlic and the olive oil sort of tame the extreme mint flavor, but you could still taste the inherent “mintiness.” I decided to put it in the freezer until I could figure out what else to do with it. I still needed to add Parmesan cheese, but I wanted to give some more thought to what else I would add.

The Next Step–Parsley

I needed to go to the grocery anyway, and we were indeed out of Parmesan cheese. So, after giving it some thought, I decided to add some Italian flat-leaf parsley.

Chopping parsley on chopping board

I think that was half a cup

Then I got on with it.

Blender with olive oil

Add a little at a time until you get the consistency you want.

First, I had to thaw the pesto because it froze quickly. I ended up having to microwave it for about 30 seconds just to soften it up. Even then, it was cold, and it was still kind of like a sludge.

Pesto in freezer container

Still frozen

Once I got it out of there I started with the parsley.

Adding parsley into pesto

It was a bit easier this time.

But I managed to get it into the blender just fine after adding the requisite Parmesan cheese.

I just sliced the parsley leaves clean from the bundle at an angle with the blade of the knife. I didn’t take the bundle apart. Pulled the stems out to make sure it was just leaves and I added it all in after washing and spinning.

Because it was much thicker now I had to add a little more olive oil a couple of times. I also added in a couple more cloves of garlic, too.

I blended, and I blended, and I blended, stopping the motor to move it around with the blender spatula to make it catch everything. Finally. I had a nice emulsion.

I removed it from the blender, very carefully, as much as I could get out of it, and then added a little more of the Parmesan cheese.

Adding Parm Cheese To Pesto

This was the second addition of cheese, about a third of a cup I think.

Then mixed it well, and tasted it. I think I’ve got four cups of this stuff, which is great, I’ll have it for a while.

Mixing parm cheese into pesto

Take your time or you’ll make a big mess

And then you have this, in a larger container than the usual one-cup or two-cup containers I use:

Finished pesto

Done!

Verdict: incredibly delicious, and the parsley tames the mint flavor.

Where has this been all my life?

The Recipe

OK, so I can’t say I was trying to create a new recipe. But guided by the article and my previous experience making standard pesto from basil, here is my recipe for mint and parsley pesto.

Ming and parsley pesto in freezer container

Mint & Parsley Pesto

Amy
A fresh take on the Italian favorite with herbs that aren't basil
Prep Time 30 minutes
Course Condiment
Cuisine Italian

Equipment

  • Blender Essential when you're making pesto
  • Salad spinner This takes much of the water off the herbs after washing

Ingredients
  

  • 3 cups Fresh mint
  • 1 bunch Italian flat-leaf parsley
  • 2 to 3 cloves Garlic
  • 1 cup Extra virgin olive oil
  • ° Salt & Pepper to taste
  • ¾ cup Walnuts (increase or decrease as you like)
  • ¾ cup Parmesan Cheese (increase or decrease as you like)

Instructions
 

  • Toast the walnuts (or other nuts) until they are warm and fragrant. Do not burn. Add to a cold bowl and set aside.
  • Remove mint leaves from the stems. Wash and spin in the salad spinner to remove excess water.
  • Chop parsley leaves off the bunch, then repeat in the salad spinner to remove excess water.
  • Add the herbs to the blender, along with the garlic, toasted nuts, and a little kosher salt and freshly ground pepper. Add the lid to the blender with the center part removed.
  • Measure out 3/4 cup of the extra virgin olive oil. Slowly pour into the running blender through the open top until the cup is empty. If the contents don't seem to be chopping and mixing, turn OFF the mixer and use a spatula to move things around in the bottom. Remove the spatula, replace the lid, and try again. Add more olive oil a little at a time until the blender moves and you get the right consistency.
  • Pour the pesto into a bowl, and add the Parmesan cheese. Stir until completely blended. Add to a storage container and either refrigerate for a week or freeze for later.
    Makes about 3 to 4 cups of pesto.
Keyword Pesto

It’s as simple as making standard pesto, and the flavor is outstanding. I’ve got the finished product in the freezer, marked for identification. Of course, I did, so that there’s no question about what’s in it. I recommend using square or rectangular glass containers to freeze the pesto because they’ll fit better in your freezer and there’s no loss of flavor. I speak from experience on this one.

OXO makes some good ones, as does Target. I think I found a few at Ollie’s Bargain Outlet in Denham Springs, too. But I do miss the Pro Glass squares I used to get at Bed, Bath And Beyond, they don’t seem to have them anymore.

Uses

What am I going to do with this new version of fresh pesto? Well, my first thought is to add a small amount on top of a grilled or a roasted chicken breast, chicken thigh, grilled shrimp, or baked fish. One could also add it to some freshly cooked pasta (gluten-free for me.) Granted, BF insists on frying all fish in the house, so I would have to do this when he wasn’t around.

I also think it would be good in or as a dip. So if I was in the mood for some cut vegetables, a little bit of this pesto would be good for dipping. Maybe I could mix some in homemade mayonnaise, or some sour cream, or something else that would work as a base. Or I could turn it into salad dressing—I’ll think about that one too.

Note that it tastes like a pesto, not specifically like mint and parsley, so you could probably use it as you would basil pesto if you wanted.

Cause And Effect

I was quite happy to tell BF about this discovery. However, he was not as happy about hearing about the new recipe, as usual.

I described to him the process of cutting down all that mint, then blending it together. In between sentences, he gave me his requisite verbal retching sounds. This is the same guy who is very particular about his toothpaste and the type of minty-fresh Listerine mouthwash he buys.

While he was at work, I told him via text that I’d finished making it.

Text messaes between Amy and BF

Thanks, Honey.

Well, more for me, I guess. I marked it so there’s no question about what’s frozen in the container. Of course, BF won’t touch it, because he’s been around my pesto-making for more than five years and declares it an abomination or something.

Still, I’m glad I made it, and I can’t wait to try it in or on something. It’s not the strong basil flavor, but it sure is tasty.

If you’ve got a good amount of herbs growing, a combination of the herbs would also work, given the garlic or other aromatic Giada recommended in the article. You could use any type of oil, but extra-virgin olive oil is the best for this. Walnuts—well, they’re tasty roasted in the pan, that’s all I’m saying. But you could use almonds, or leave the nuts out entirely.

Until Next Time

It’s pretty much summer here, so wherever you are, enjoy summer while you can. Of course, in the south, we enjoy it six to nine months out of the year. (Winter hung on a little longer this year.) It’s a great time for grilling and enjoying the outdoors. Don’t forget the berries.

Enjoy!


The Cool Post

It’s summer in Texas. Heck, it’s summer everywhere–people are frying steaks and eggs on sidewalks and car hoods. They’re not in Texas, either.

Never fret–I have some nice recipes to keep you cool and comfy.

I caught Valerie Bertinelli’s cooking show last Saturday, and her good friend Faith Ford came by for lunch. Apparently, it was hot in SouCal when they filmed this episode (or they were just pretending) because Valerie didn’t want to turn on the oven. However. . .she did turn on the stove. I mean, how else do you cook lobster tails? While I’m not suggesting anyone go out and buy fresh lobster (I know I’m not, crawfish are the same thing), if you want some, many stores will steam them for you. (I think HEB does.) Valerie’s Lemon Icebox Cake was pretty fast and looked nice and cool. (It does call for Vanilla Wafers.) The episode is called Too Hot To Cook, but cook she does, albeit on the stove top–but not for very long. Want some real fresh-brewed iced tea? They make some, there’s a honey-sweetened recipe in this episode too.

Naturally, I’m up to my summer coffee making:

This will be iced coffee once it cools down.

This will be iced coffee once it cools down.

Now, if you’re thinking about going iced on your coffee, as always, The Coffee Detective has articles to get you started. This one explains how to make iced coffee at home, and this article has specialty  cold coffee-based drinks. (Warning: Nick uses alcohol in some of these recipes.)  How long does it stay in the fridge? Until I finish it. Which is going on twice a week now.

If you are in an area where it’s that hot, do you now see the wisdom of the Crock Pot? Even my mechanic friend JK is thinking seriously about making nice, cool Overnight Oatmeal after I told him about it. (I forgot to ask The E Man if he’s tried it.) Don’t be embarrassed–get one or two if you don’t have a slow cooker, and if you have a family, consider a larger waffle maker, too, for making brownies, hash browns and all that kind of thing. There is no need to turn on that oven, unless it’s a toaster oven.

Still looking for recipes for your slow cooker? Sign up at All Free Slow Cooker Recipes and get them in your inbox every day. (In addition to my favorite, Pinterest.) A searchable recipe database means you can go find what you want on a dime. Don’t heat up your kitchen in the summer, please.

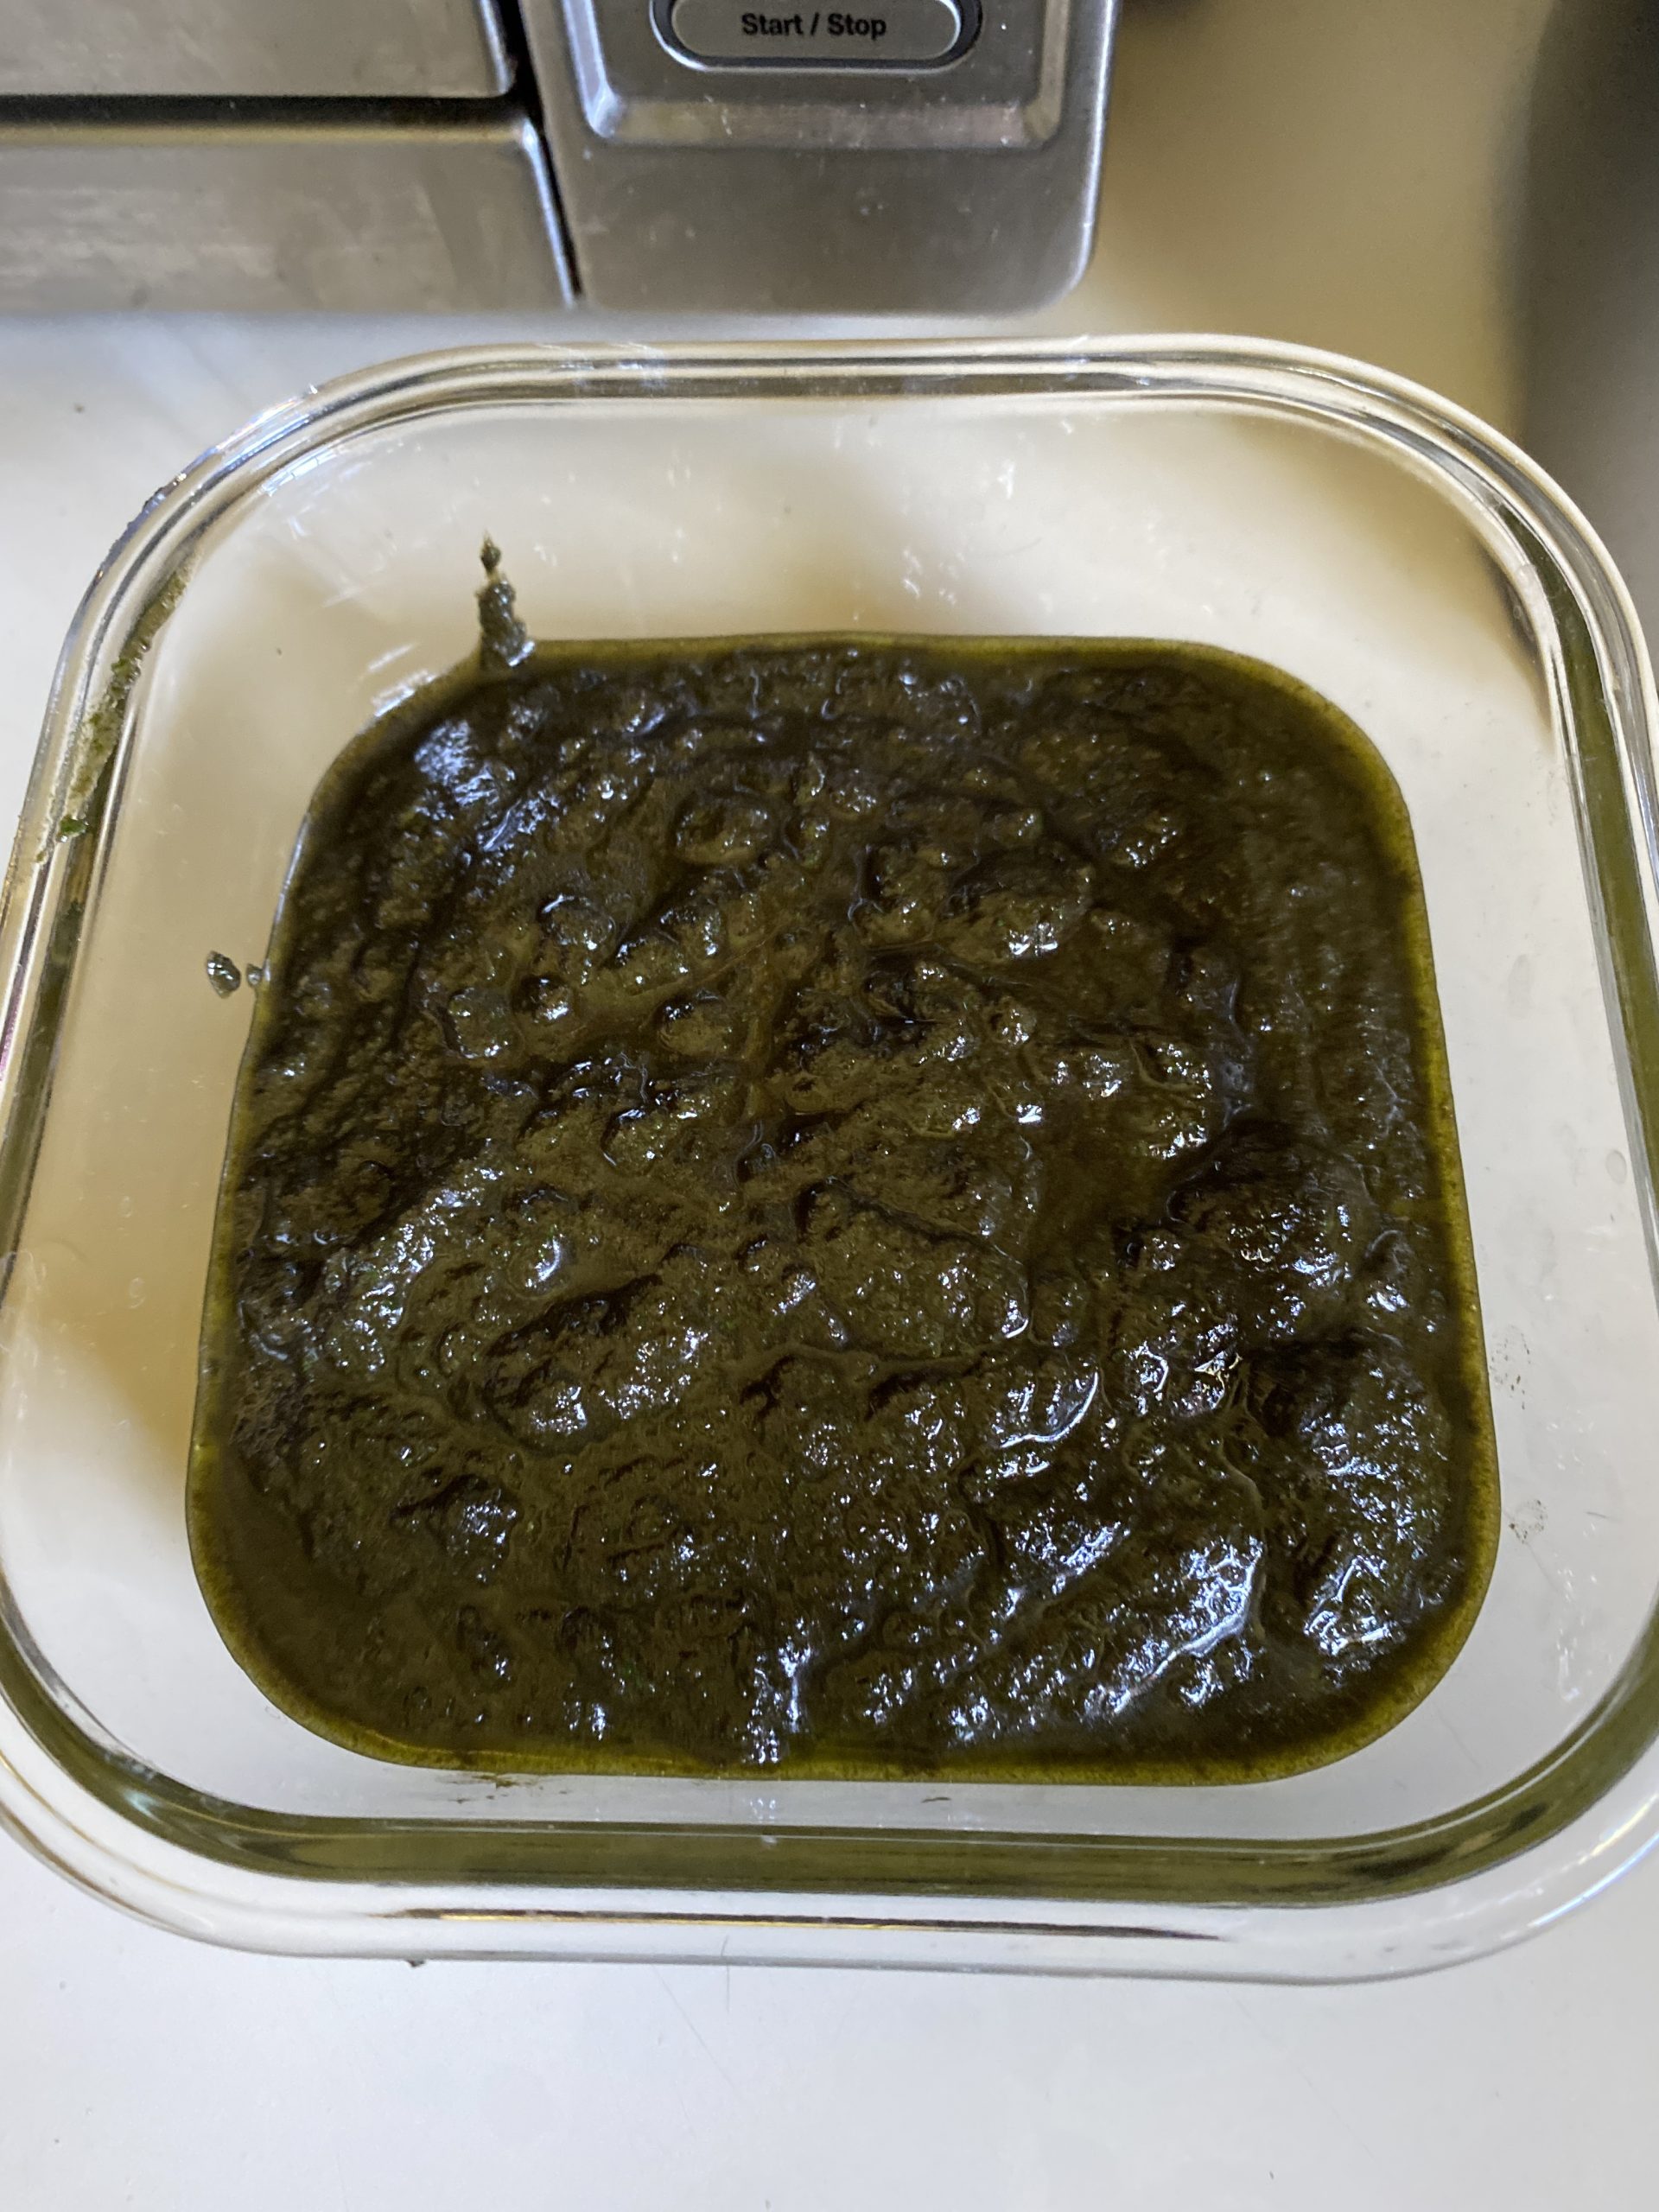
I’ve already made my first batch of basil pesto for the year, which I didn’t document, because, well, I’ve done it more than once. However, the rooted basil cuttings have now been planted, and I expect a large amount of basil, and subsequently, pesto, in the near future. Last year I was lucky enough to get extra from my visit last year to the Genoa Friendship Garden, so I kind of made out like a bandit with the pesto. I have five containers in the freezer, and since we didn’t have a really cold winter in Texas, I didn’t make as much Pea & Pesto Soup as I thought. However, at some point, I’ll need to get more of those square containers I use to freeze individual batches. Earlier this year, I also broke one, darnit.

Speaking of the garden, I got more tomatoes:

And that was it.

They were delicious. And that was it.

Four more are behind it, and I’m watching the newly planted basil cuttings too. No more strawberries, and the jalapenos are taking their time. The lettuce, is, of course, gone now.

Anyway. . . .

Last weekend, for whatever reason, I pulled a couple of old cookbooks off the shelf and started flipping through them. I wanted to make something different, and wondered if there was anything I could make that I had on hand, or with minimal shopping. Something I hadn’t made in a while, or never tried. Turns out there was. The first recipe, Cool Lentil Salad, is a good one. Why have I never made this before?

The first book in question is Martha Stewart’s Healthy Quick Cook. Published in 1997, this book features elegant but somewhat “lighter” menus, including desserts, that are low fat. (Not all the customer reviews are positive, but that’s OK.) “Casual but sophisticated,” it says on the inside cover. Well, we know what “low fat” usually means–higher in carbs, sugar, salt, and other additives to cut the fat but make it taste good. In these recipes, most everything is made from scratch, as Martha usually does, although I admit to making just a few recipes from the book. Maybe I need to go back and read it again. This salad is made from simple ingredients, quick to make and is a nice, cool addition to a summer dinner.

I can still hear my ex-husband say to me, “You expect me to eat that??” Ah, memories. . . .

Recipe 1: Lentil Salad

Unfortunately, you do cook the lentils on the stove, but only for 10 minutes. After that, it’s just tossing everything together.

The setup.

The setup.

The parsley and celery came from the garden, and I really, really needed to cut the parsley. I’m forever telling LK to water the parsley plant she has out front of her house, and. . .mine is watered, but it really needed cutting too. Finally, I cut it. The re-grown celery also needed to be cut, and I took half of that off. (I’ll use the rest in something else.) The lentils. . .well, they’re in a sealed jar, OK? Next trip to Phoenicia, and I’ll re-stock. I haven’t made any lentil dishes since I made Stewed Lentils & Tomatoes earlier this year.

So I started out by boiling the rinsed lentils and garlic in salted water:

I rinsed off the lentils first.

I rinsed off the lentils first.

And let them simmer for 10 minutes. Meantime, I started chopping celery:

This is re-grown celery from the garden.

This is re-grown celery from the garden. I actually don’t like the leaves.

You’ll need half a cup:

Made it!

Made it!

When the lentils are, as the book says, “crisp-tender”, that is, cooked but not mushy with a textured bite, drain them:

IMG_3063

Discard that garlic, then run the cold water over them:

IMG_3064

I’ll toss that garlic clove later.

And toss the lentils into a bowl (your serving bowl, if you like.) Finely chop that red onion (or as best as you can get it):

IMG_3065

And add it with the chopped parsley into the bowl.

Now, I have to tell you about my recent little benefit: I was at HEB on a Saturday, and when I was walking into have lunch, I mean, get my shopping, I noticed that someone dropped a big, beautiful red bell pepper. It was just sitting there! I figured someone would go back for it, but when I left HEB, someone carefully perched it on the short concrete pylons in front of the door. So. . .it came home with me. And I said, Thank You.

My benefit bell pepper

My benefit bell pepper

I put it on the Butusdan for a few days, but noticed it was getting a tad wrinkly. Into the fridge until I figured out what to do with it, and so I tossed it into the lentil salad. The bell pepper was an addition, not part of the recipe:

IMG_3068

Now for the dressing: It’s just 3 tablespoons of fresh lemon juice, 1 tablespoon of extra-virgin olive oil, and 1 teaspoon of warm water. I whizzed that all together with the frother:

And sending it flying everywhere because the bowl was too small

And sending it flying everywhere because the bowl was too small.

Poured it over the salad in the bowl and mixed it together:

Cool Lentil Salad

Cool Lentil Salad

It’s pretty darn tasty, and will complement many summer dishes perfectly.

Recipe 2: White Bean & Olive Salad

This tasty throw-together salad only appeared in the Houston Chronicle via The New York Times many years ago. It was an Everyday Food recipe, and was never in a book or on their website–despite my request to add it. Fortunately, I kept the newspaper section in my personal notebook, and have enjoyed it for many years. It’s simple, and uses just a few simple ingredients for a cool, tasty side dish.

The setup.

The setup.

There’s a reason I put out three kinds of mustard–because, quite frankly, I think you should have a choice. The original recipe calls for Dijon mustard. However, the first time I made it, I only had Creole Mustard, and have been using it in this recipe ever since.

If you can find this mustard, its strong flavor may make you a convert.

If you can find this mustard, its stronger, unique flavor may make you a convert.

I think it’s a lot more flavorful than the Dijon, but that’s just me. You could certainly try the grainier variety of Dijon, too.

Why do I have two kinds of Dijon? Because at Trader Joe’s, it’s cheap.

So, you rinse two cans of cannellinni beans, and add them to a serving bowl:

YUM!

YUM!

Chop (or halve) a quarter cup of Kalamata olives:

IMG_3087

I just prefer them chopped, that’s all.

These are the olives, available in most markets:

Kalamata olives. Watch out for pits, some have them.

Kalamata olives, also from the olive bar in your grocery. Watch out for pits, some have them.

Add them to the bowl. Now thinly slice half a small red onion (in this case, left from the Cool Lentil Salad):

Red onions!

The red onion has a less acrid bite than standard white or yellow onions. But I don’t buy them often.

Time to mix the dressing–and I used my secret weapon again.

IMG_3070

Wash VERY carefully by hand, with hot soapy water when you’re done.

Into a small bowl, add 3 tablespoons lemon juice, 2 tablespoons of extra-virgin olive oil, and one tablespoon of mustard. In my case, I like the Creole mustard in this dish, but the original recipe calls for Dijon:

Almost dressing

Almost dressing

And out comes the Aerolatte milk frothing tool to mix and emulsify the dressing.

Whiz!

Whiz!

Note that you MUST wash it carefully by hand to get it clean. Don’t want olive oil in your frothed-up latte, do you?

Then it’s just a matter of pouring it over the salad, and mixing it up:

IMG_3090 IMG_3091

Voila! A tasty no-cook salad that’s quick and delicious anytime. It makes four servings, by the way:

Yum.

Yum.

This, too, will hold up in the fridge for a few days. If you can keep your paws out of it. It’s THAT good.

Recipe 3: Ginger Ice Milk

The third recipe, also from Martha Stewart’s Healthy Quick Cook, is Ginger Ice Milk, and takes a bit of prep work before it’s ready to eat. Remember that this book came out in the 90’s, when low-fat was still the prevailing mindset in “healthy.” It calls for 3.5 cups of  “low-fat” milk–which is mostly or all sugar, if you didn’t know that. (I’m guessing it’s either skim, 1% or 2%, but it’s still more sugar than fat; whole milk is both sugar and fat.) No way am I going to put a half-cup of sugar into a pitcher of sugar. So, much like lattes and iced coffee, I made it with whole milk, and sweetened it with SomerSweet. (Yes, I still have some.)

The setup

The setup.

I’m not sure whether to call this “ice milk” or “ice cream.” Whatever you call it, you’ll enjoy it in the summer heat.

Warning #1: fresh ginger has a real bite! And, you should observe sitting times and probably not leave it for 2+ hours while heading out for a bike ride. Just 45 minutes of infusion should have done it. (I forget these things.)

Warning #2: If you have an ice cream maker like mine, that requires the freezing of a component (in my case, the bowl) make sure you freeze it ahead of time as instructed. That’s in addition to making the base for the iced treat you’re freezing, and letting it chill completely. Mine from Cuisinart requires 24 hours for the bowl to freeze up properly, and I actually put it in the freezer on Wednesday. If you have one of the fancier ones with an internal compressor (that is, it’s plug-and-play like this one with no freezing beforehand, which cost more), then you don’t need to freeze ahead. One day. . .I’ll get a plug-and-play ice cream maker, or a bigger freezer so that I can keep *two* of the freezer bowls frozen at the ready and make my own ice cream a lot more often. At least I don’t have to make ice for days in advance like I did with the one I used to own.

Warning #3: Ginger can develop a mold on the surface if you leave it too long in the fridge. Like I did:

Yuck! Cut that off!

Yuck! Cut that off!

I only made this to use up the ginger. And, because I like making my own ice cream.

This recipe is dessert for a meal inspired by Japanese cuisine. The protein is <cough> tofu, and there is nori (flat dried seaweed) involved in a “Vegetable Handwrap.” Now, I’ve eaten burritos for quite a number of years, but even I know that it is not possible to chew through the nori wrap! (It’s like chewing aluminum foil lined with plastic wrap–it’s too stiff to make burritos.)  Obviously, the rest of that menu will never happen in my kitchen, but the dessert is a good one.

So, it’s pretty simple to make: heat up 3.5 cups of milk with a half-cup of sugar (I used SomerSweet), and stir, but don’t boil:

IMG_3097

Warm until the sugar or sweetener dissolves, and whisk occasionally to make sure it does.

While that’s happening, peel the ginger (recipe calls for a 3-inch piece, but good luck finding that to spec). I learned from Martha to scrape the peel off using a spoon. Then slice it like the red onion above:

Yes, like that.

Yes, like that.

When the sweetener has dissolved, add the fresh ginger, lower the heat and let it lightly simmer for 15 minutes. Then take it off the heat, add the grated ginger, and let it infuse for 45 minutes:

IMG_3105

We don’t say “steep” anymore, we say “infuse.”

It was at this point that headed out on the bike for 90 minutes. That’s where the powerful ginger taste came from. It’s almost hot, no kidding.

After 45 minutes, remove the ginger pieces (I had to strain out the tiny bits):

IMG_3111

Those tiny browner bits are the ground ginger. I used a small spatula to push them through the sieve and back into the milk mixture.

Then let it cool, then chill it thoroughly. (This is why you plan ahead.)

Once it’s cool (and you’ve frozen your bowl, if need be), it’s time to make this into a sweet treat.

IMG_3115

Now, there’s something I found unusual with this recipe. See where the milk level is? Well, start to finish took about 40 minutes (and thank heavens for earbuds, that machine is loud.) But as it churned, the mixture sort of expanded:

Second picture. See it?

Second picture. See it?

Now get a look at it right before I turned the machine off:

Close to the top.

Close to the top.

I’ve never seen that happen before. But it was time to shut it off, and I did.
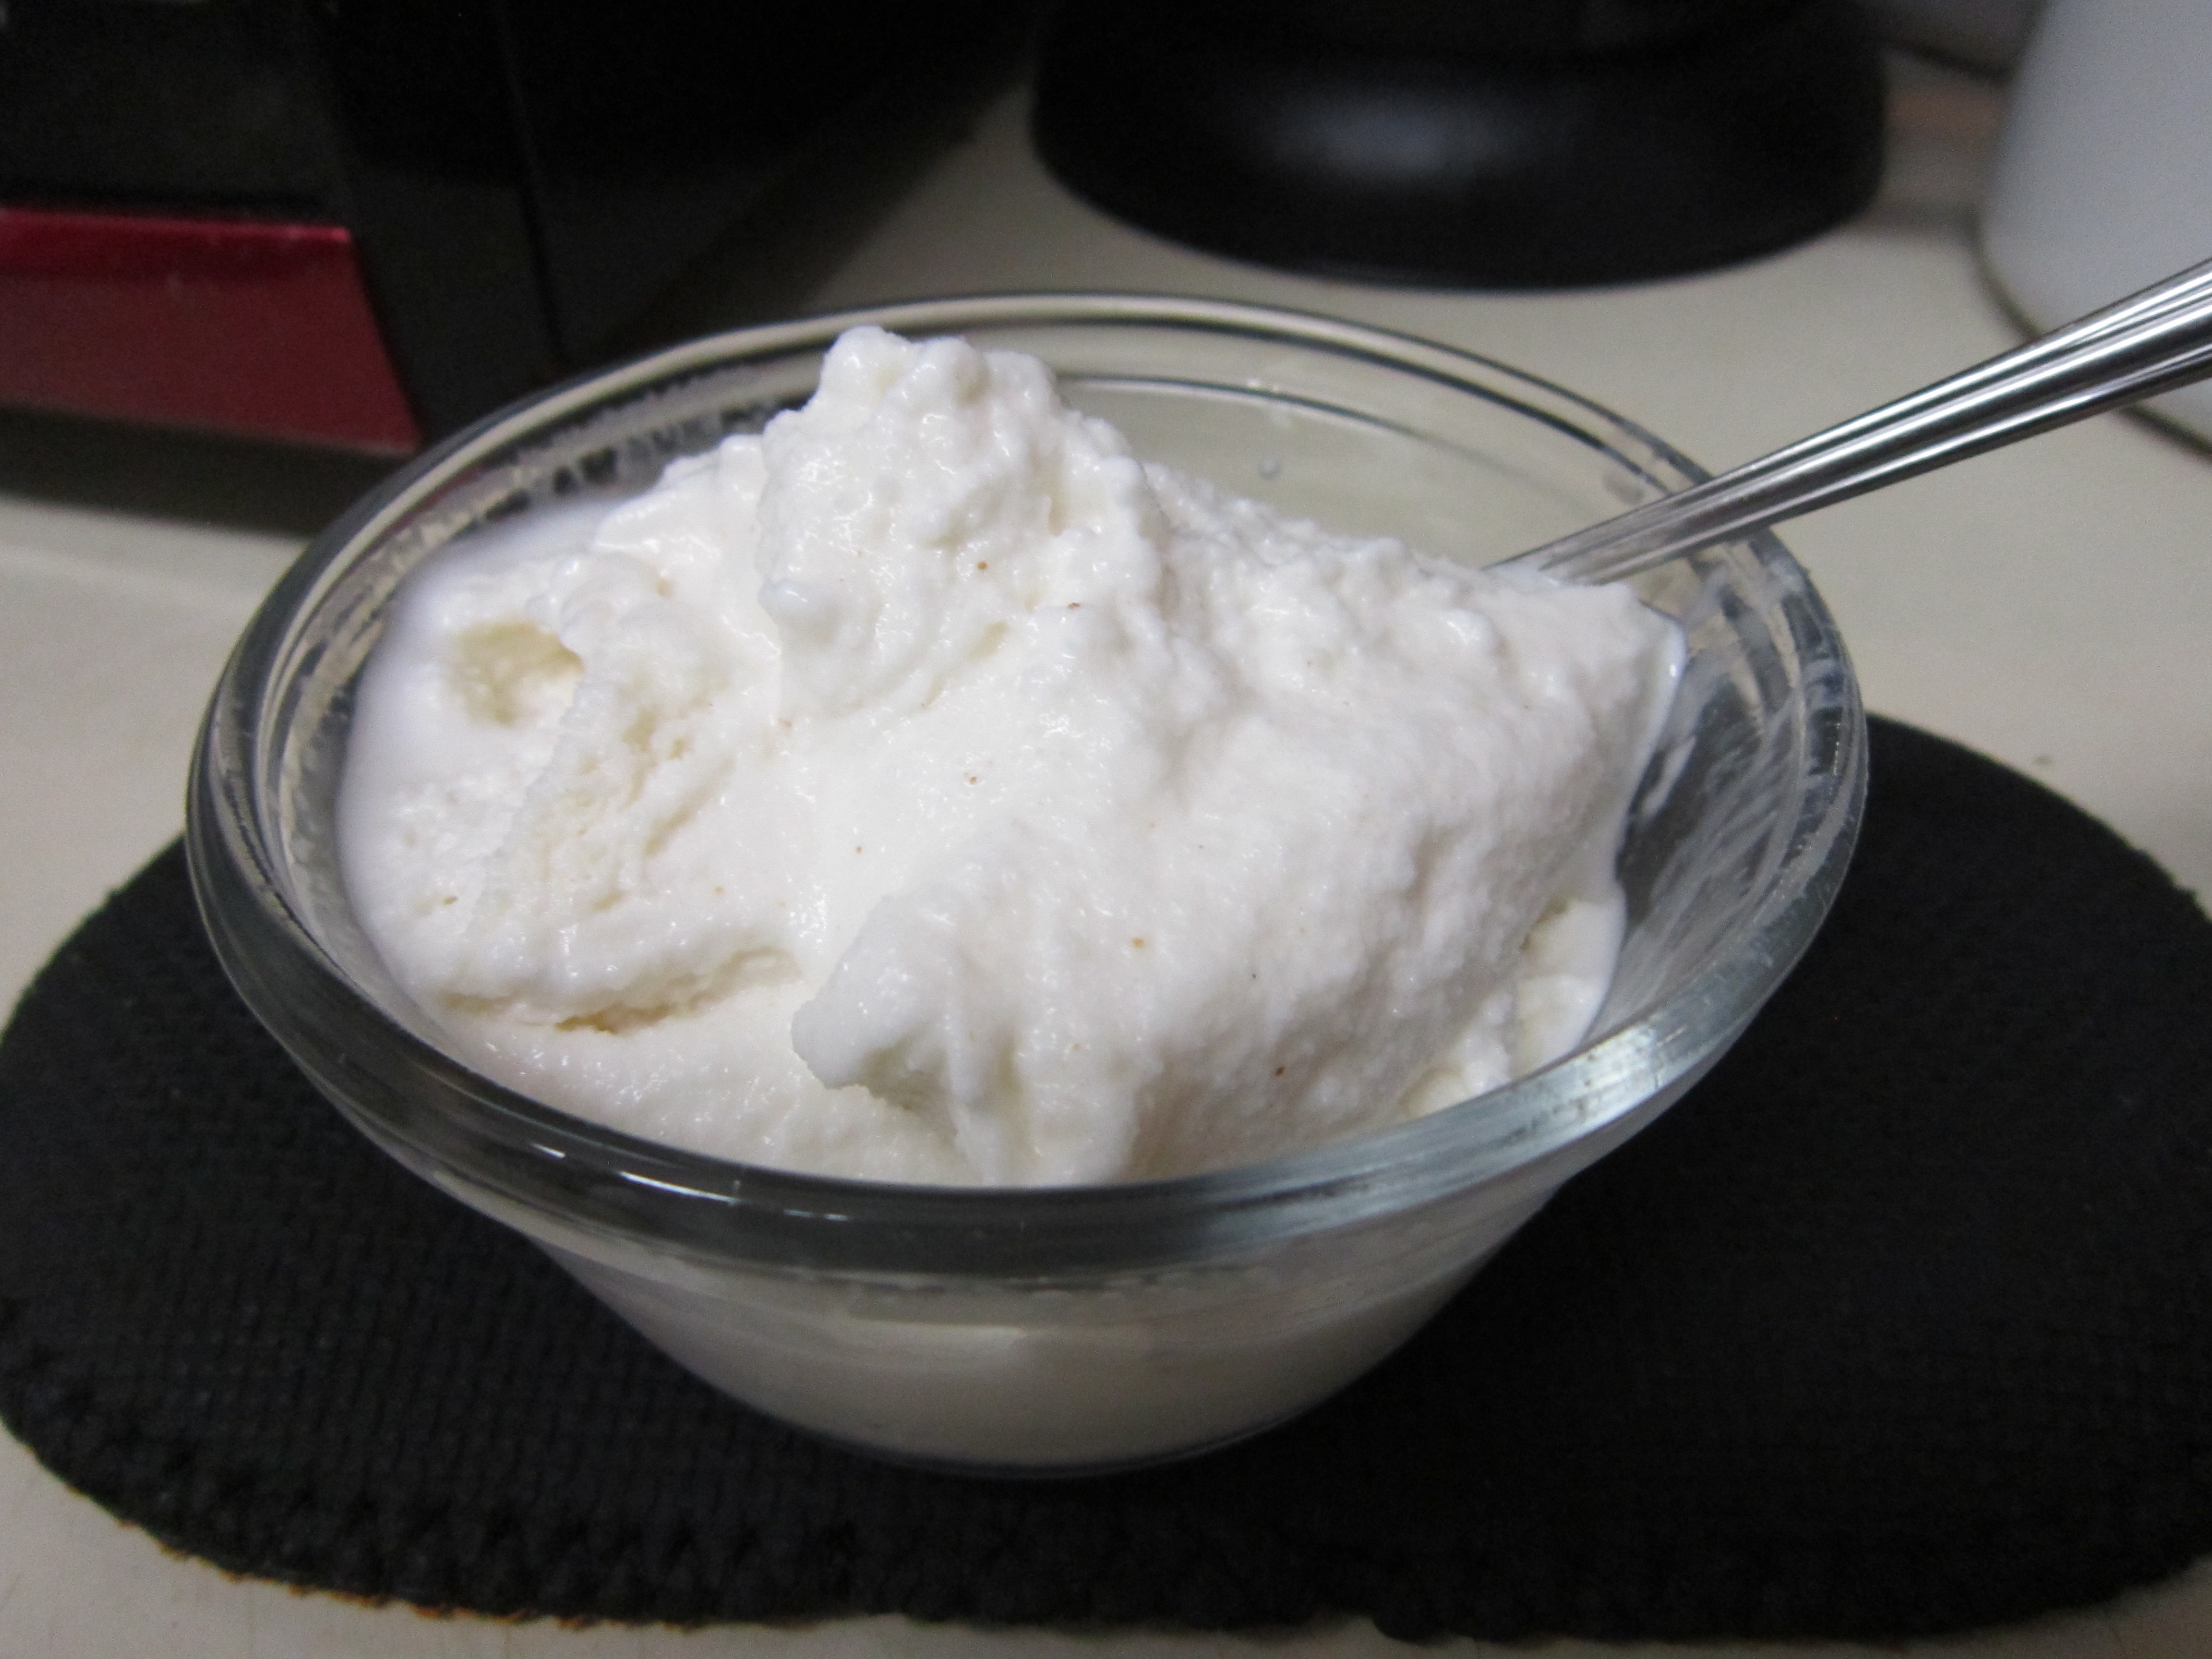
Ginger Ice Milk!

Ginger Ice Milk!

Theoretically, the square glass container on the right should have been elegant sufficiency. However, I had to resort to putting the “overflow” in another container. Well, that’s OK–it’s sugar free, I’ll have it whenever I want some. (I also have some cantaloupe sorbet in a separate glass container, sitting underneath these two.

One thing I noticed is that when I put this dish in the freezer with a spoon, it didn’t freeze hard like ice cream does:

Ice cream with a BITE!!

Dessert with a BITE!!

Checking the containers in the freezer, they’re not frozen hard, either. So, you’ll have to eat this quickly before it melts.

Oh, and I also ate the “crumbs” I scraped off the inside of the freezer bowl:

Or maybe I should have let it churn longer?

Or maybe I should have let it churn longer?

Delicious–but let me repeat the warning that ginger can be quite spicy, and it gives a bite to this frozen dessert. I may have left it infuse too long. But it’s SOOOO good!

Recipe 4: Quinoa, Pea & Mint Salad

The last recipe is actually on page 17 of Martha Stewart’s Dinner At Home, a book similar to the ill-received Healthy Quick Cook, but without the “healthy” connotation. Like the first book and one or two before it, the menus are arranged by season to take advantage of what’s available. They don’t call this a “healthy” cookbook, but for the most part, it is–elegant made from scratch dishes using easy to find fresh ingredients. I made this from what I had already, plus mint from the garden, and I have to say, it’s quite good. So let’s make some!

The setup

The setup

I bought that chicken stock for something else a long time ago, and I finally used it. Peas I try to keep around for Pea and Pesto Soup, so that’s only a cup. I have quinoa as well, and that’s a cup. The mint, of course, came from the garden. So, let’s make this one.

First, put the chicken stock (or broth) in the pot, then rinse the quinoa:

One cup of quinoa, rinsed.

One cup of quinoa, rinsed.


I know, not the prettiest picture. Keep reading.

I know, not the prettiest picture. Keep reading.

Heat it to boiling, cover and simmer for 10 minutes:

IMG_3128

After 10 minutes, add the peas, fresh or frozen:

Quinoa isn't quite cooked yet.

Quinoa isn’t quite cooked yet–see the little holes where the bubbles are?

Cover and let this simmer for another 5 minutes.

IMG_3133

After 5 minutes, remove it from the heat, add salt and pepper to taste, and then 3 tablespoons of extra-virgin olive oil:

IMG_3136

Mix well, and then add into a serving dish (which is probably cool):

IMG_3137

Let this sit for five minutes or so to cool a bit, uncovered. Then stir in the mint. I just added the leaves whole, since they weren’t big. If you have big leaves, tear them a little or even chop a little:

Mint!

Mint!

Mix it up well, and serve either warm or room temperature. If you’re doing the weekly cooking thing, this will sit in the fridge all week and hold up just fine. Best to cook after the sun goes down, or if you’re the hardy type, before the sun comes up. (I used to do that.)

Now, if you’ve got grilling on your mind, the July/August issue of Hobby Farms magazine has a quick recipe for Grilled Bell Pepper and Tomato Kabobs with Herbs and Olive Oil. I haven’t tried this one, but it looks tasty and is simple. It would go well with an outdoor grilled dinner.

More farm-type recipes are available on their website. This month’s issue also includes a Letter to the Editor about foot rot in sheep. EWWWW, poor babies! If you see a sheep kneeling to graze, that means it’s in pain and needs immediate medical attention. But if you do have sheep, you’ll likely smell it, too.

What will you have that will keep your house from feeling like a HeatCageKitchen? (Go to the Recipes page for PDF files for all these tasty dishes.)

Happy Dining!


Skip to toolbar
Verified by MonsterInsights